 elcome
to Clarke University's Field Digital Photography Course. This is an intense,
hands-on course designed to be a full immersion training activity
with the learning objective of teaching students how to use this
phenomenal technology. The course is designed to be an intensive
four day field course that takes the students out of the classroom
and into exciting photo-opportunity-rich environments. elcome
to Clarke University's Field Digital Photography Course. This is an intense,
hands-on course designed to be a full immersion training activity
with the learning objective of teaching students how to use this
phenomenal technology. The course is designed to be an intensive
four day field course that takes the students out of the classroom
and into exciting photo-opportunity-rich environments.
Digital
photography is not merely a technical substitute for film photography.
There are unique capabilities that have never before been practical
in the film world, and we intend to explore and apply these capabilities
in a course that combines technology with artistic expression and
visual communication.
For
certain nearly 200 years of film-based camera technology is the
legacy that has made digital photography possible. On the surface,
there really is little discernible difference. You have a viewfinder
or view screen, a lens and a shutter. The mechanics of taking a
photo have not changed all that much. However, there are opportunities
available to you through your digital camera and your computer to
which your camera becomes attached that takes the art of photography
to another dimension of creative possibilities.
What
makes a technically good photograph? How does contrast serve to
enhance composition ? How can contrast be enhanced in the an image
editing program? How does depth of field work in the digital domain?
What is the most appropriate resolution setting for publishing?
For the Web? This is just a sample of the issues instructors will
address in this hands-on workshop.
And
here's the best part: This class is held almost totally in the field.
We are raveling throughout Dubuque's Tri-state Area making photographs.
We will be accompanied by powerful laptop computers on which we
will store our collection for later manipulation and finishing in
an image editing program.
Our
goal, besides our learning objectives, is a virtual gallery of images,
a veritable portfolio of our work online.
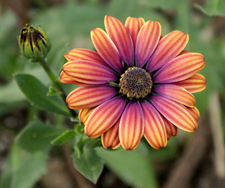
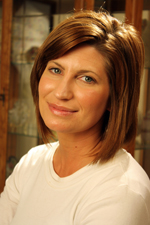
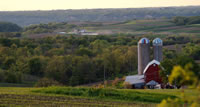
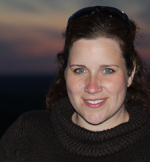
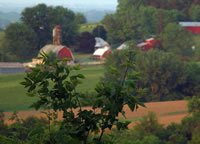
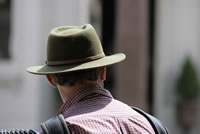
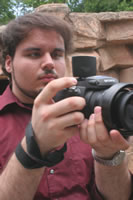
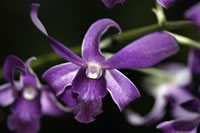
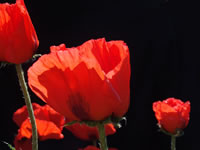
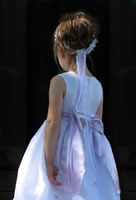
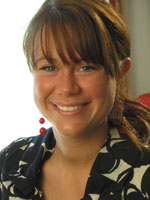
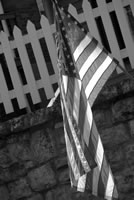
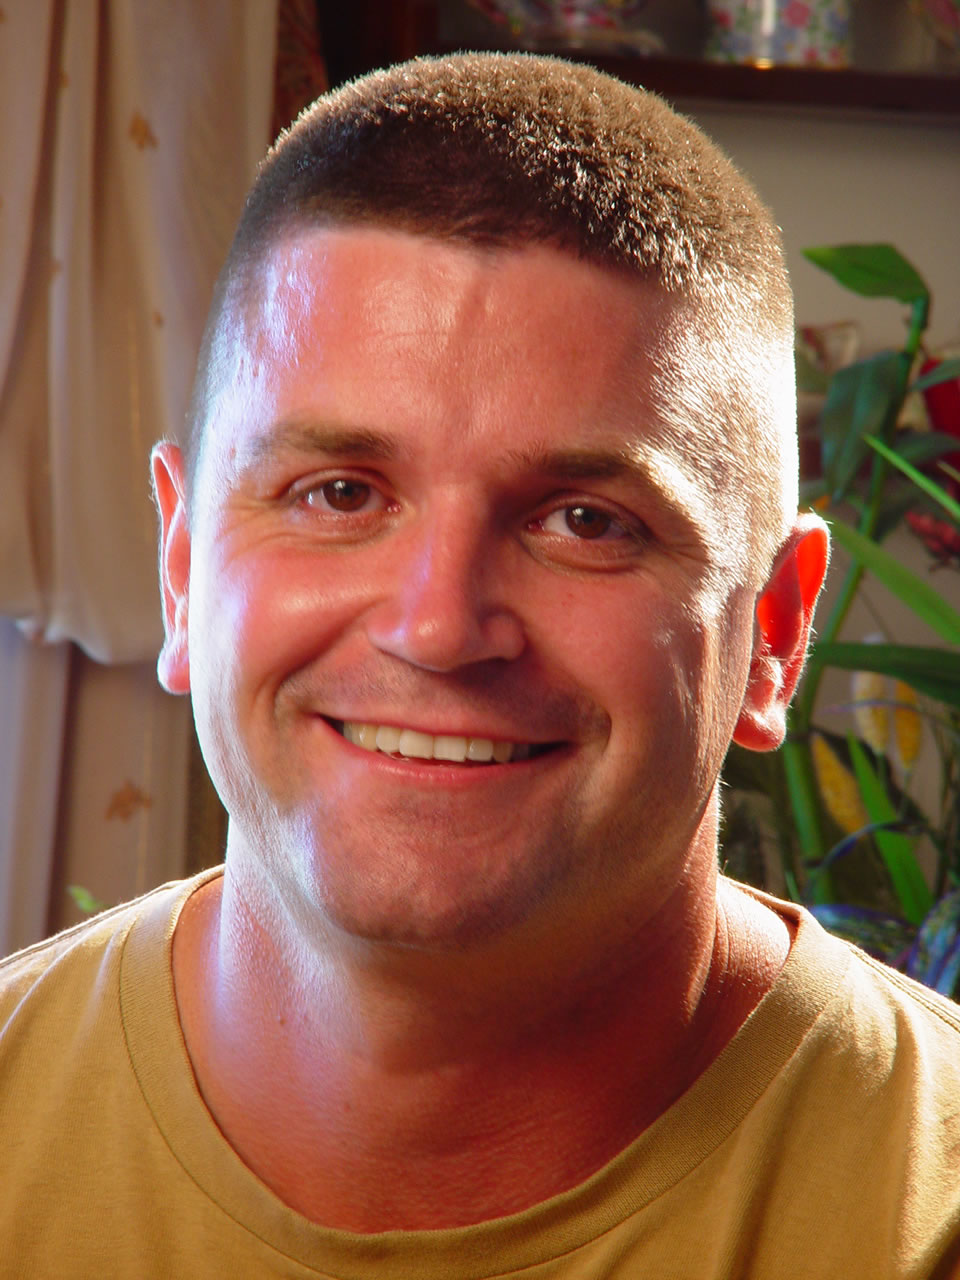
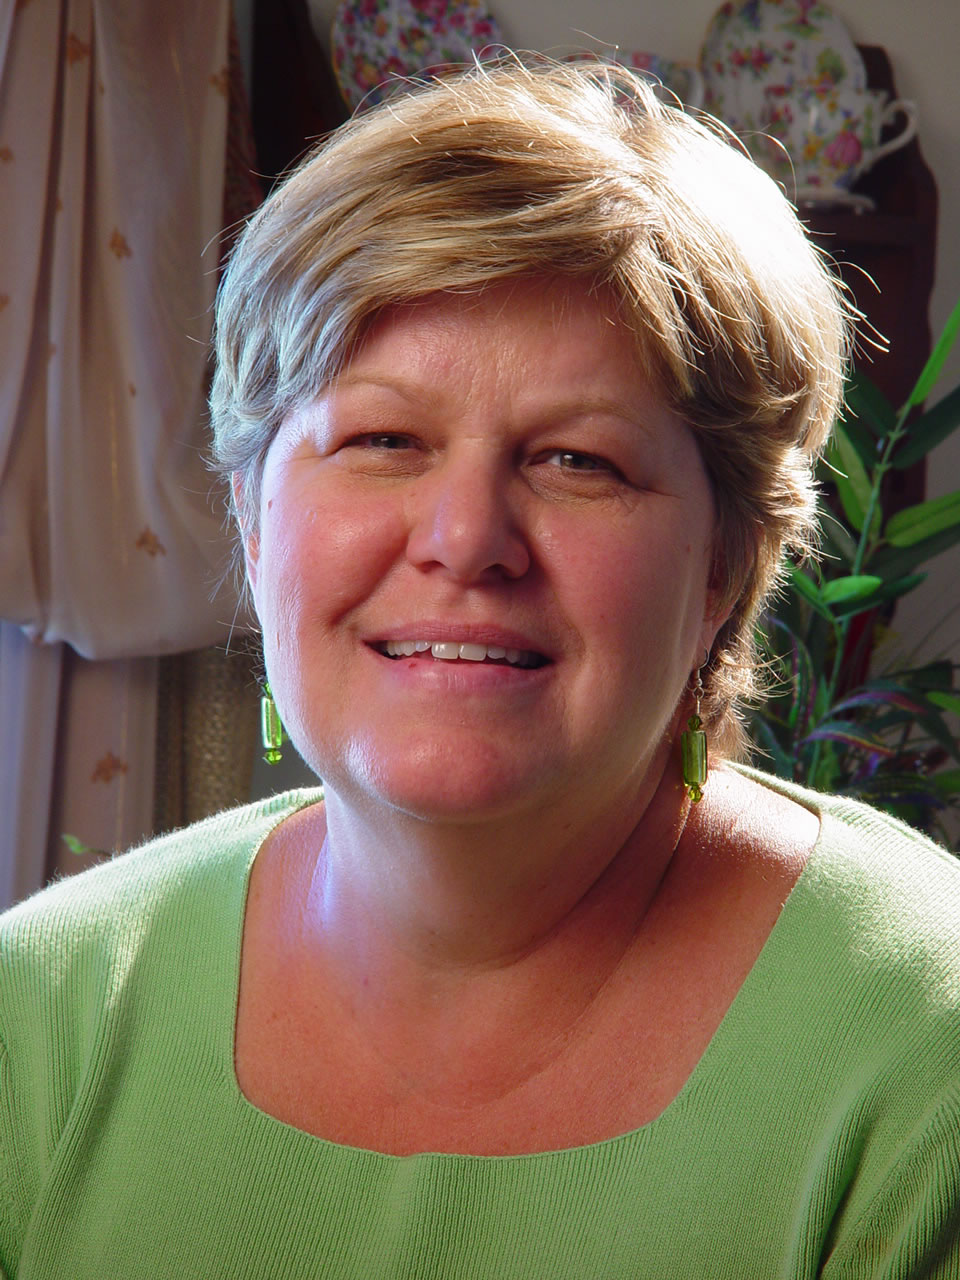
As
you can see by the instructors' images at right, we will be exploring
everything from landscape to still-life, from figural to portraiture,
from telephoto to macro photography, from black and white to full
color.
Your
Instructors:
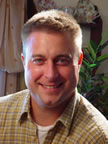
Dr.
Abdul Sinno
 |
| Dr. Abdul Sinno is an author, photographer, speaker, entrepreneur and advocate for the environment. Visit his web site at www.SinnoCom.com . You can learn about and sign up for photography workshops held throughout the year. |
Dr.
Sinno provides quality teaching, research, and public service in
the academic and business environments, utilizing business and academic
expertise to enhance understanding of the important social, technological,
managerial, and public policy role of communication. He
holds a Ph.D. in Mass Communication with a focus in Advertising
and Persuasion from the University of Wisconsin at Madison. Also
holds an M.A. in Journalism and Mass Communication, from the same
university.
Presently, Dr.
Sinno is the Chairman of the Communication Department at Clarke
University. He holds the rank of tenured full professor of communication.
He established the PR/Advertising major at Clarke University, Dubuque,
Iowa.
He has won several
awards including the Excellence in Teaching Award from Clarke University..
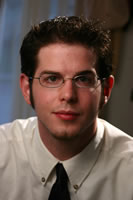
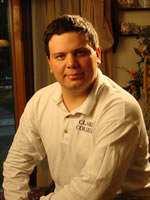
Gary
Olsen
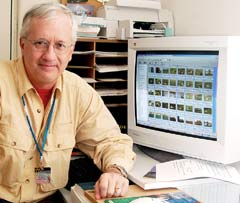
Gary
is an award-winning professional multimedia producer and graphic
artist who was an early adopter of filmless photography as early
as 1986. Gary has written two best-selling books on multimedia technology
and creativity.
Gary
has taught Web design, multimedia production,advertising
design, Quark Xpress page layout, and PhotoShop in Clarke University's Communications
Department. However he retired from classroom teaching to devote more time to his passions of photography and film making. Gary is also retired from the Dubuque Community School District where he won several national awards for cable television and web based communication productions. Visit
Gary's Web sites at garyolsen.com. Gary is also a widely published cartoonist and you can see his work on www.garyolsencartoons.com
Visual
Communication Outcome
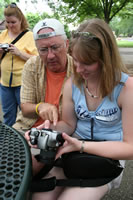
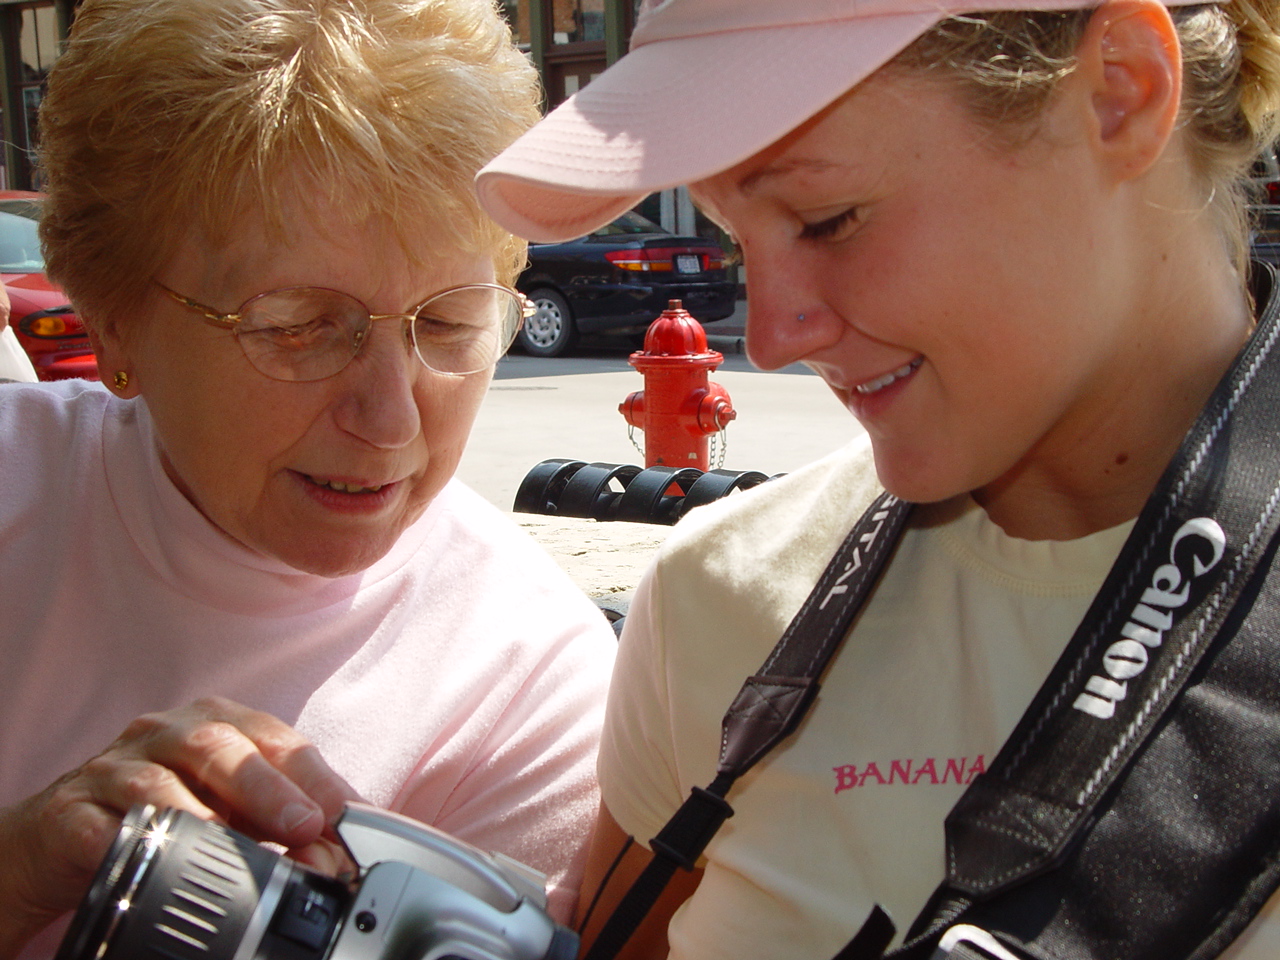
Process
Outcome: The students learn the mechanics of digital photography,
interacting with the camera and the subject in a variety of given
situations.
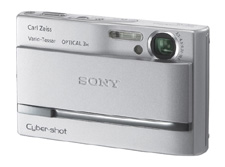
One of many cameras in the Sony Cybershot line, the DSC T-9. This extraordinary compact camera with Carl Zeiss optics delivers an astounding 6 megapixel image. Students can bring any camera of their choice to the class, but check the specs below for minimum requirements.
Camera Mechanics:
All students must have access to a digital camera which has the following minimum features:
1.
3.5 megabytes minimum resolution.
2.
Aperture or shutter speed priority settings (manual as well as automatic
exposure control)
3.
Storage Capabilities: compact flash, memory card, smart
media, or MemoryStick
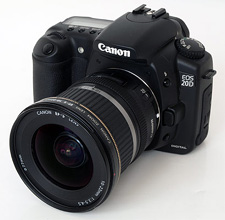
The Canon 20D has 8.5 megapixel resolution and allows for a large variety of lenses. This is a professional camera in every sense of the word, yet it is reasonably priced at around $1,300 with a moderate zoom lens and a light capacity but still useful flash memory card.
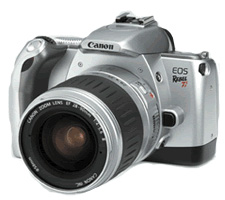
This is the Canon Rebel EOS Digital Camera that is very popular among students. It's reasonably priced, and it captures images at 8.5 megapixels just like the one above it. It also allows for accessory lenses, the same professional lenses that work in all Canon single lens reflex cameras. You can get this camera for under $500.

This is perhaps one of the most popular cameras with students... the Kodak Easy Share. This line of cameras takes great photos because it has an excellent lens. The ease of use is a bonus, and it may be the best camera for the computer challenged because it doesn't need a computer but can be purchased with a docking device that allows you to print nice snapshots directly from the camera. Kodak offers Easy Share cameras from $100 up to $500. The docking station is extra.
Learning
Objectives:
At
the conclusion of the photography course, students will have a portfolio
of their own images, each of which demonstrates one or more of the
following four criteria of what makes an image with visual impact.
1.
Light:
The
manipulation of light and contrast to portray a point of interest
in the image boundaries
2.
Composition:
The manipulation of the vantage point of the photographer,
the camera, and the subject to depict shape within the frame or
borders of the image. Included in this criteria is balance and symmetry.
3.
Texture and Mobility:
The
manipulation of light and color to capture texture and mobility
(objects moving in and out of frame).
4.
Reality:
The
manipulation of the subject to go beyond capturing the moment and
altering the visual reality that is portrayed in the image.
5.
Image Processing:
Once
the image is captured, the creative opportunities don't end. Students
will learn how to manipulate an image in Adobe PhotoShop to enhance
or alter the reality of the image.
Course
Syllabus:
Day
1:
We
meet at the Atrium at Clarke College.
9:00
AM Morning Session - to 12:30 PM. Getting to know your
camera nomenclature, capabilities, and feature sets. Bring the
instruction manual with your camera, please. We are going to
examine how your digital camera should be set up for optimal results
under various conditions. We will have an in-depth discussion of
color in the digital environment, and resolution. Students will
learn the appropriate resolution settings for the specific types
of photographic applications. We will also examine how the camera
should properly interface with the storage device and computer to
which it must connect.

1:30
PM Afternoon Session - Dubuque Arboretum from 1:30 to 4:00 PM.
We are going to test our camera's settings and lens capabilities
on a variety of subjects available to us. We want to create extreme
close-ups as well as landscape shots. Our goal in this class is
to assess our equipment's capabilities under as many different lighting
and subject depth conditions as possible. Feedback will the instantaneous
from the instructors in the field.
4:00
PM Late Afternoon Break. Return at 7 PM at the Arboretum

Evening
Session - We resume our nature photography during the sunset
hours. This is the evening "golden time," when light is
at its most dramatic. Colors are warmer, shadows darker and longer.
We will learn how to leverage these lighting conditions to create
dramatic photographs. Students will learn how to manually override
the settings of their cameras to create the most dramatic effects.
Day
2:
 Morning
Session Depart at 8 AM. This part of the day will be spent working on cityscapes, landscapes and architecture. Morning
Session Depart at 8 AM. This part of the day will be spent working on cityscapes, landscapes and architecture.
We
want to capture three things on our digital camera:
Texture:
We are trying to fill our lens and our frame with interesting
animal textures. This will require close-up photography in some
instances, and telephoto opportunities in other instances. We will
learn the best settings to capture the texture targets we identify.
Sharpness, depth of field, composition and lighting are crucial
elements to employ in this exercise.
Composition:
Students will endeavor to photograph topics guided by the instructors with the objective of creating an arresting composition. Cropping, viewpoint, and the rule of thirds.
 The Rule of Thirds: Break you image into thirds both vertically and horizontally. This gives you nine equal segments. Your objective is to compose your image by determining the four parts of the image your are capturing as the most important points of interest. The Rule of Thirds: Break you image into thirds both vertically and horizontally. This gives you nine equal segments. Your objective is to compose your image by determining the four parts of the image your are capturing as the most important points of interest.
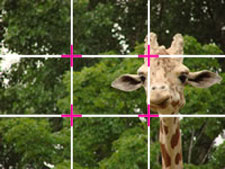 The theory is that if you place points of interest in the intersections or along the lines. your photo becomes more balanced and will enable a viewer of the image to interact with it more naturally. People's eyes usually go to one of the intersecting points most naturally rather than the center of the shot - using the rule of thirds works with this natural way of viewing an image rather than working against it. The theory is that if you place points of interest in the intersections or along the lines. your photo becomes more balanced and will enable a viewer of the image to interact with it more naturally. People's eyes usually go to one of the intersecting points most naturally rather than the center of the shot - using the rule of thirds works with this natural way of viewing an image rather than working against it.  Here are three examples of how points of interest in the photo line up or are very near the points of interest on the grid. Here are three examples of how points of interest in the photo line up or are very near the points of interest on the grid.
Many amateur photographers determine their points of interest and frame their shots with the subject or point of interest smack dab in the middle of the frame which is far less interesting than if one reframes their point of interest to align it near one of the intersecting points of the grid.
In composition you are continuously working with the aspects of symmetry, asymmetry, color, and contrast, all of which combine to create balance in an image. Many amateur photographers confuse balance with symmetry. Balance is the manipulation of visual interest with unity, variety and the composition of shapes in a frame along a vertical and horizontal axis. If shapes in a frame are arranged just so, it has power to lead the eye to specific points in the composition.
This is an extremely important tool of the artist, and among many visual communicators, this talent is second nature. But for most people who do not communicate visually, it must be learned.
Balance in a composition can be achieved by several means in photography and art besides arranging objects in a frame. It can be achieved by using color, contrast, and even texture. These elements of design actually serve to form shapes in a composition under the right circumstances.
Movement:
How do we show movement when none may exist? How do we capture
movement or anticipate movement in a scene so we can capture it
at the appropriate moment? We will learn how to capture as well
as show movement through the adjustments of our camera and our environment.
Evening
Session: We have some spectacular vantage points from which we take students to take exciting night shots. Bring appropriate clothing.
Day
3:

8:00
AM Morning Session - to 12 Noon. Photo journal
opportunity. We tour the countryside around Sherril and Ball Town
with emphasis on the landscape.
The
student's photographs will cover three different photographic compositions:
1. The close-up, 2. telephoto, 3. Wide angle reference and range.
Our
objective with the telephoto is to flatten perspective.
Our
objective with the close-up is to show details and character.
Our
objective with the wide angle is to show drama or dynamic reference...
objects in relationship to their environment.

1:30
PM Afternoon Session - to 4:00 PM - We are downtown in Dubuque,
Iowa in the afternoon. We will be recording the city's great historical
architectural treasures. Students must approach the assignment as
a photo journalist. The assignment is to capture architectural signatures
that characterize buildings of specific architectural periods in
the city's growth. The purpose of this assignment is to illustrate
an article on Dubuque historic character that is found in its homes
and neighborhoods. and scenic photography. This class will stress
composition and the capitalization of lighting opportunities to
create the best photographs. Advanced composition opportunities
where we photograph different scenes and objects to be combined
later in PhotoShop.
7:00
PM Studio and Portrait Photography until 10 PM. Students will
convene at Gary Olsen's studio at 2745 Andrew Court for a portrait
session in which the students themselves will be the subject of
individual portraits. All of the elements of lighting (studio and
flash), background, and subject manipulation will be covered in
this hands-on experience.
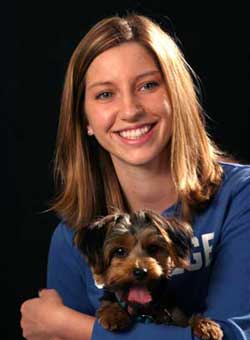 |
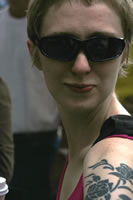
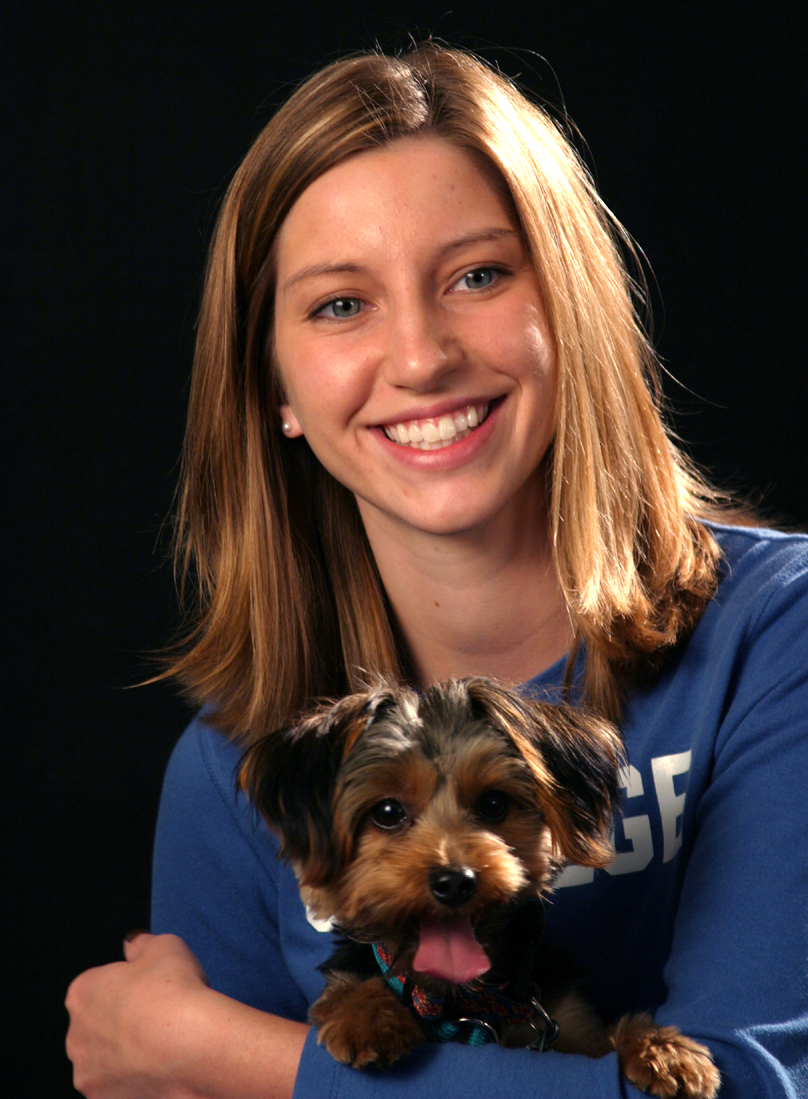
| Our
students pose for each other in the portrait segment of our
course. Here's Tara Griffen posing with instructor Gary Olsen's
dog, Daisy. The point is to add an ingredient of unpredictability
to the session, which Daisy certainly did. And the students
had to illuminate their subject, position themselves and their
cameras in a way that capture both the dog and subject in focus.
Click on photo to view enlargement. |
Day
4:
Morning
Session: 8:00 AM to 12:30 PM Classroom session in the Communication
Computer Lab with PhotoShop. Here
we will take our best image samples from the previous three days
and prepare portfolios for the following applications;
Archival:
Learning
how to move images from the camera and media to the computer where
they will be stored and entered into a database of images. From
this database, images can be viewed via a Web browser, and repurposed
in a variety of other applications on your computer from Word to
PowerPoint. We will be using PhotoShop. Photos will be catalogued
and optimized for printing and the Web simultaneously.
Photo
Manipulation: We will take our landscape elements from our previous
sessions, and combine them in a totally new and different composition.
Preparing
our Gallery images for Printing. Students will optimize and
prepare their images for our afternoon session at Ron Shaw's Digital
Designs where we will be printing our students' best works. Students
will have to cover the nominal cost of printing.
1:30
PM Afternoon Session: 1:30 PM to 5 PM - The Print Shop - The
entire class will convene at Digital Designs (next to Anderson Weber
Mercury, Toyota). This is a full large-scale printing operation
specializing in digital printing. We will bring our disk-based media
containing our photographs for owner, Ron Shaw to print.
Grades
will be determined on three criteria:
1.
The quality of the student's body of work created during the course
2.
The results of an oral exam (a series of questions posed by the
instructors).
3.
A final paper written and illustrated by each student and due two
days after the course concludes. Further details on the outline
and objectives of this paper will be covered in class.
Instructor
Gallery
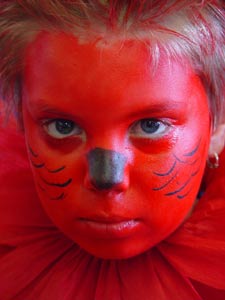
Red Face -
Gary Olsen
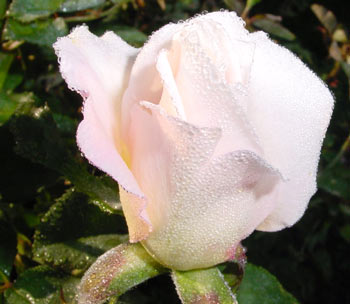
Dew Covered
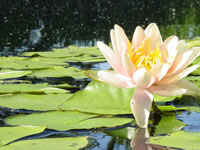
White Rose - Abdul Sinno
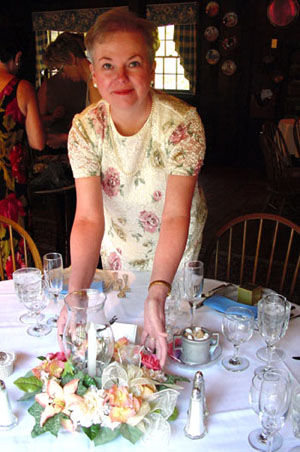
Inga and the
Table Arrangement - Gary Olsen
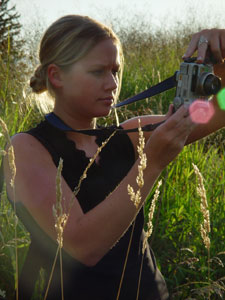
Student photographed on safari - Gary Olsen
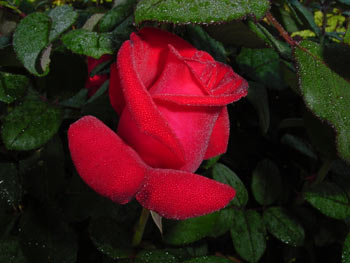
Red Rose -
Abdul Sinno
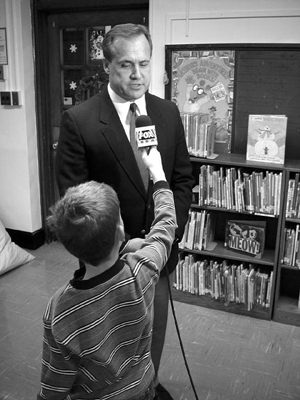
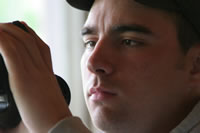
Interviewing
the Congressman - Gary Olsen
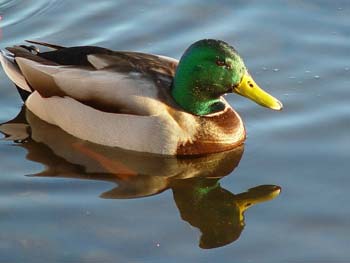
Duck - Abdul
Sinno
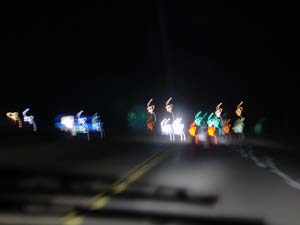
Ghosts Crossing
the Arterial - Abdul Sinno

The Bandaid
- Gary Olsen
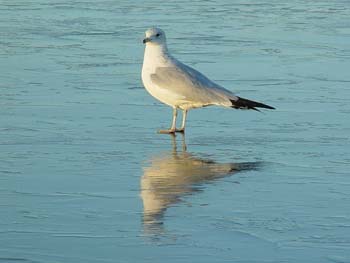
Ice Symmetry
-Abdul Sinno
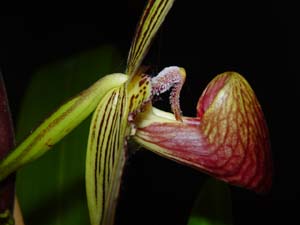
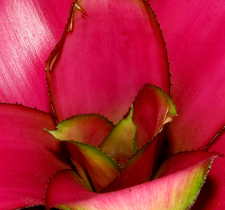
Heart of the
Orchid - Abdul Sinno
|
| Photography Classes at Clarke University |
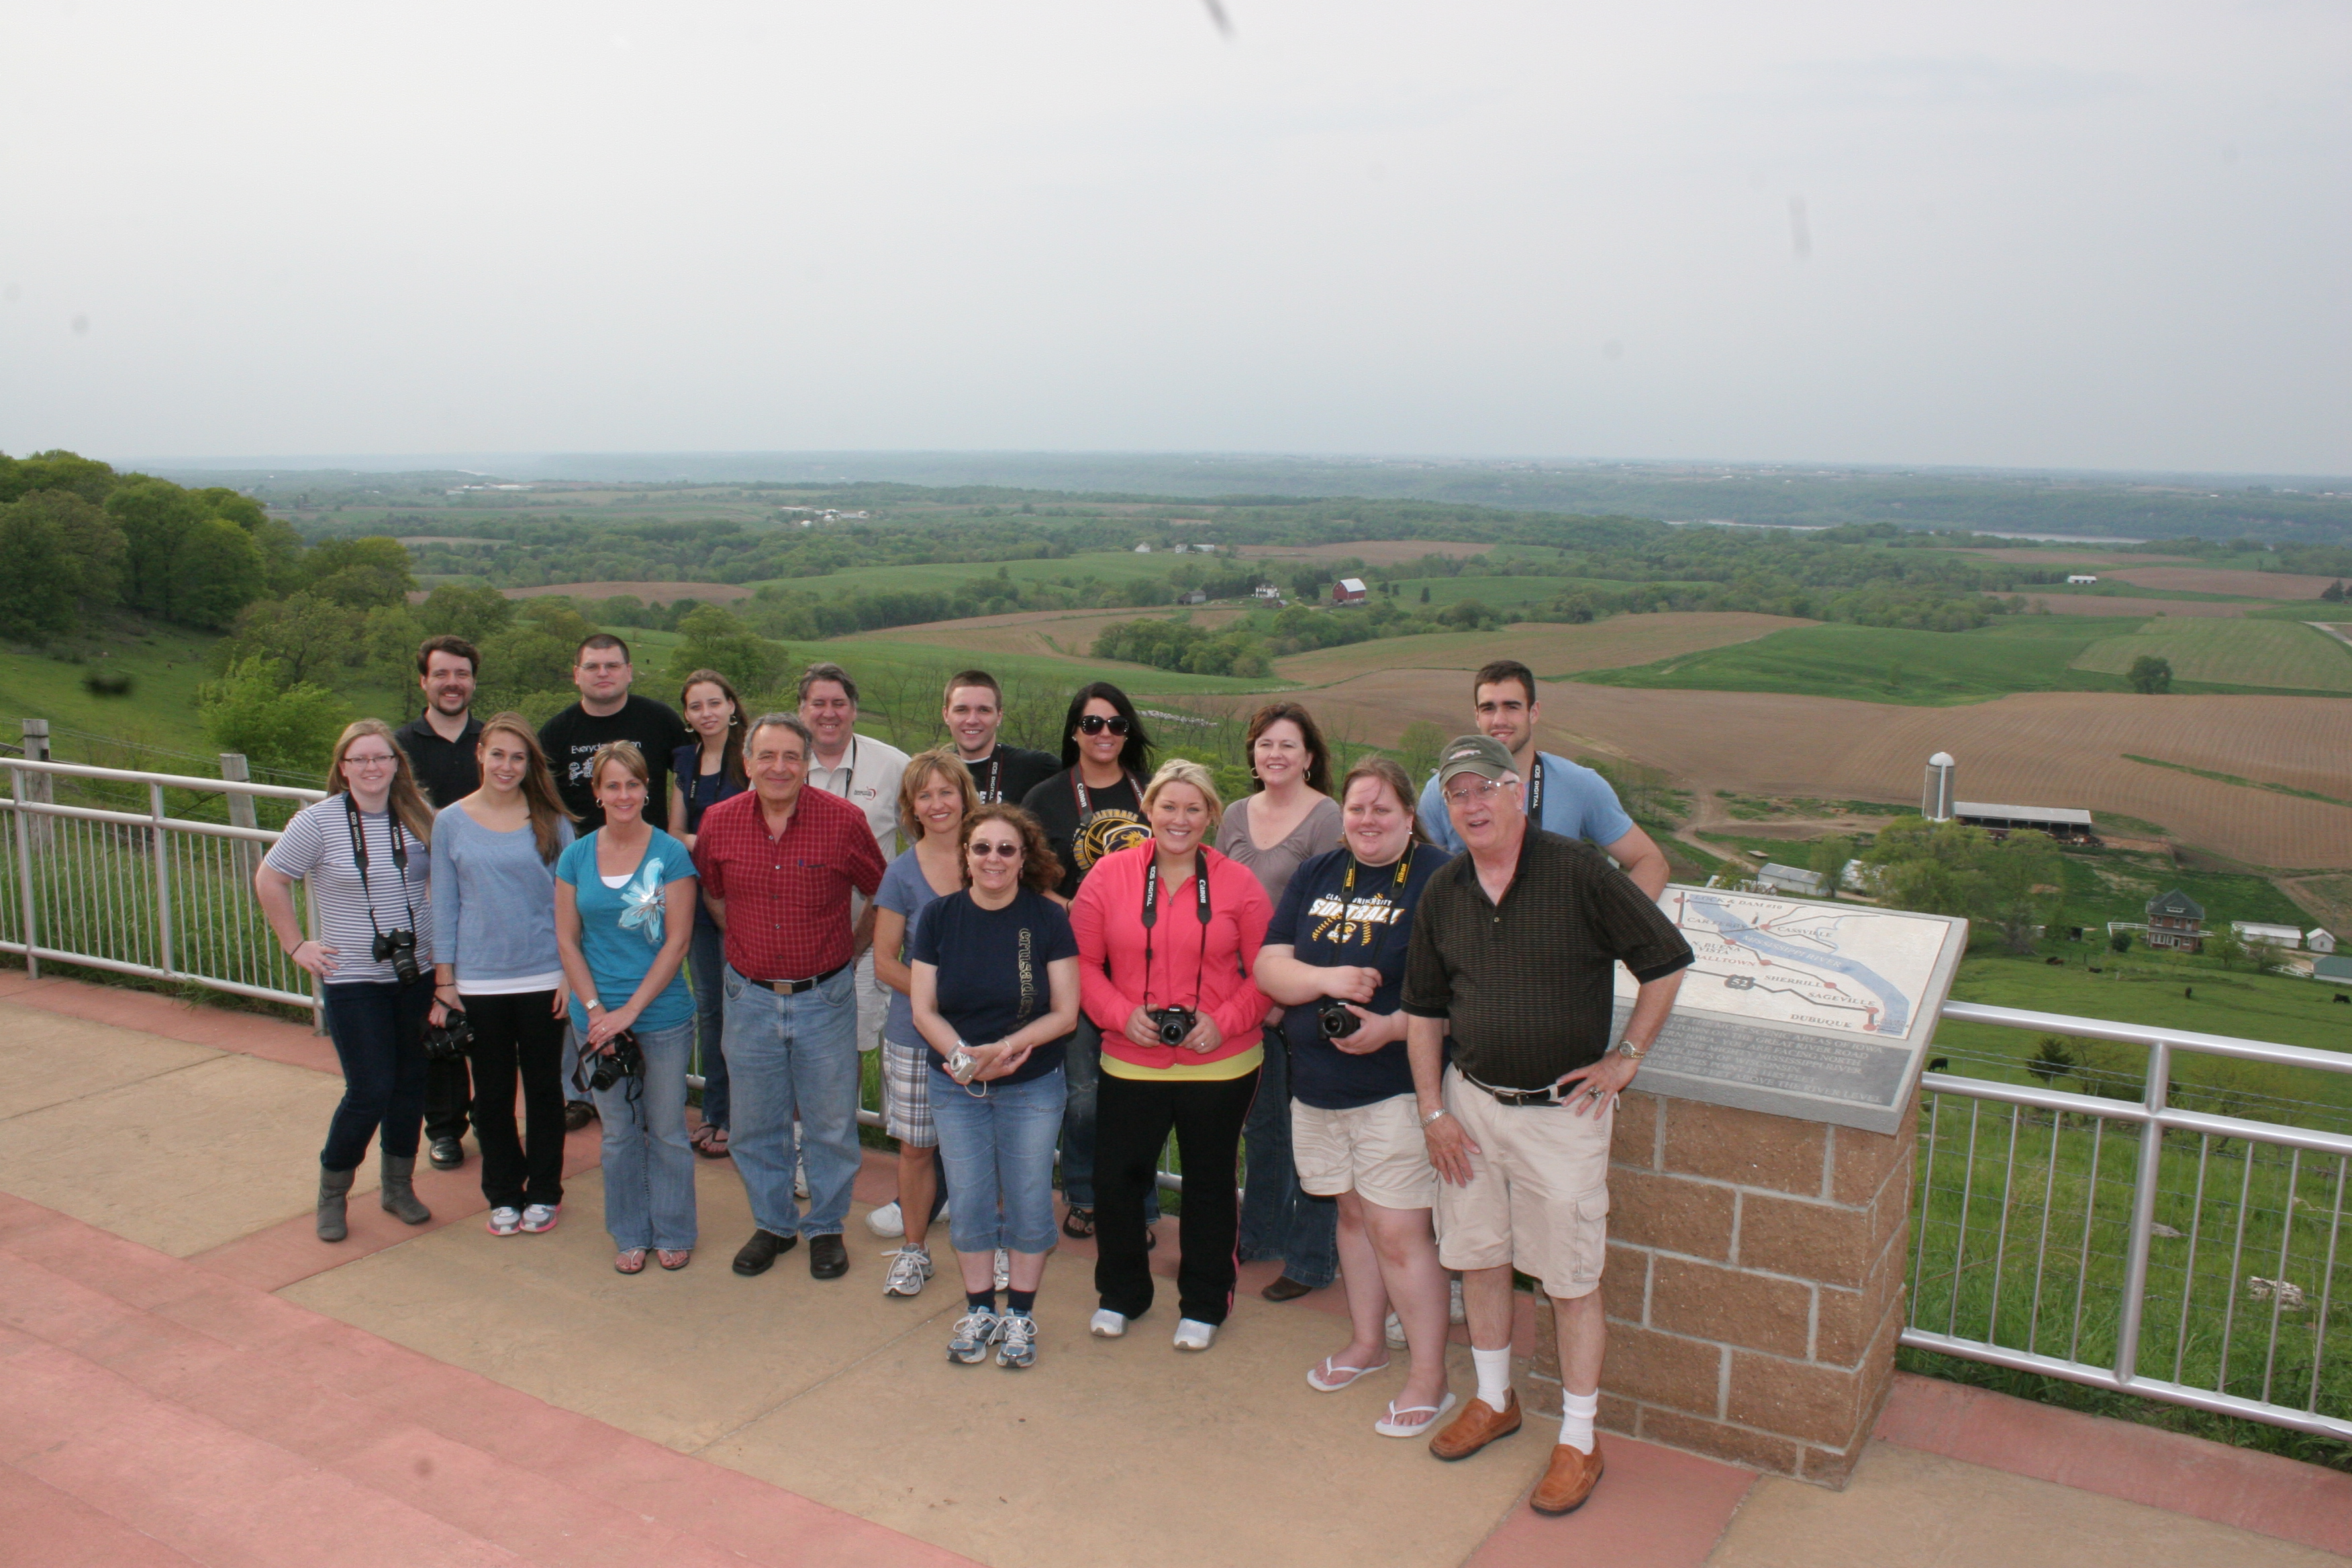
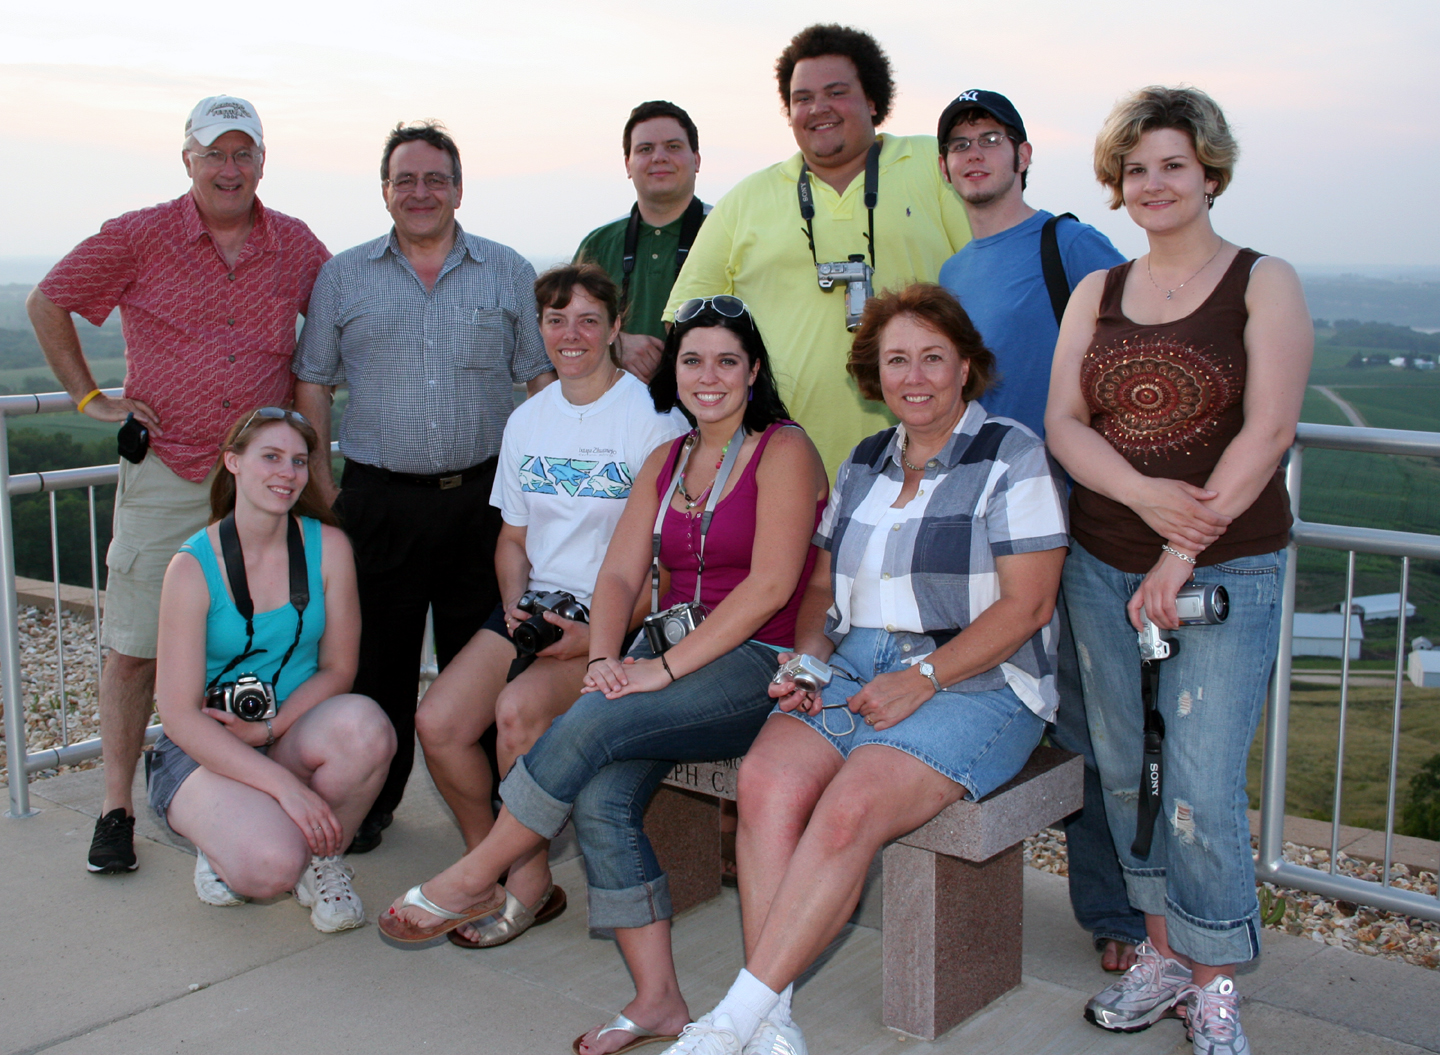
 |
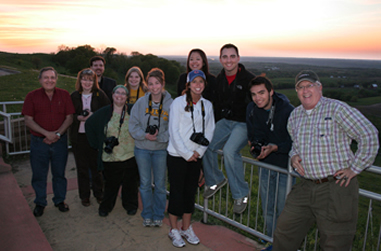
| From the highest promontory in Iowa, Balltown Ridge, this is the class of 2011. Below are links to the individual student galleries. As an outstanding example of each student's talent we selected an image we thought captured the core competencies we teach in this class that include color, contrast, composition, texture, balance, and communication value. That last criteria is highly subjective but it's an important learning goal of this class, visual storytelling. We are, after all, a communication class. |
 |
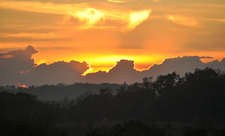
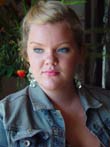
Sunset shots are deceptively difficult to do well. Brenda knocked this one out of the park because of strong composition and framing. |
| Brenda Rolwes |
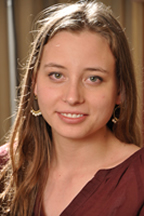
 |

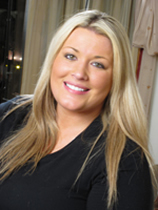
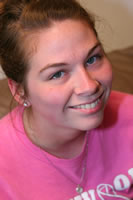
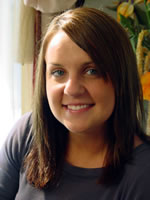
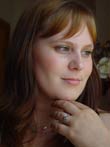
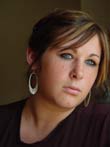
You have to like people to be a good photographer of people. Catherine is a natural. |
| Catherine Savitch |
 |

Evocative of a Monet painting of his gardens at Giverny. Dave made this photograph look like a painting without any post image manipulation. Brilliant! |
| David Decker |
 |

This is image and the one below are outstanding examples of strong composition. Elliot's shot was taken on the lakeshore in Madison, WI |
| Elliot Carr |
 |

Hillary managed to create the perfect illustrative image of this free-transportation bicycle fleet ready to serve like soldiers standing at attention. |
| Hillary Post |
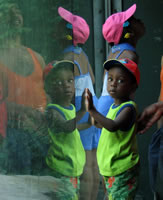
 |
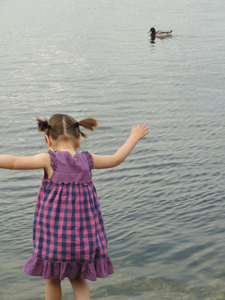
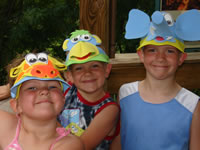
Ivonne is a great photographer of people. The composition in this shot is effective, but her timing conveyed the delight this child is experiencing without having to show her face. |
| Ivonne Simonds |
| |
 |
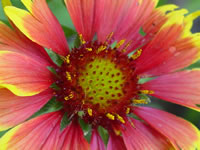
Sometimes you see something that is fleeting in nature that is just so perfect, you simply must capture it before it disappears. Jennifer's depth of field is excellent in this image. The flower looks like it was photographed in 3D. |
| Jennifer Harrington |
 |
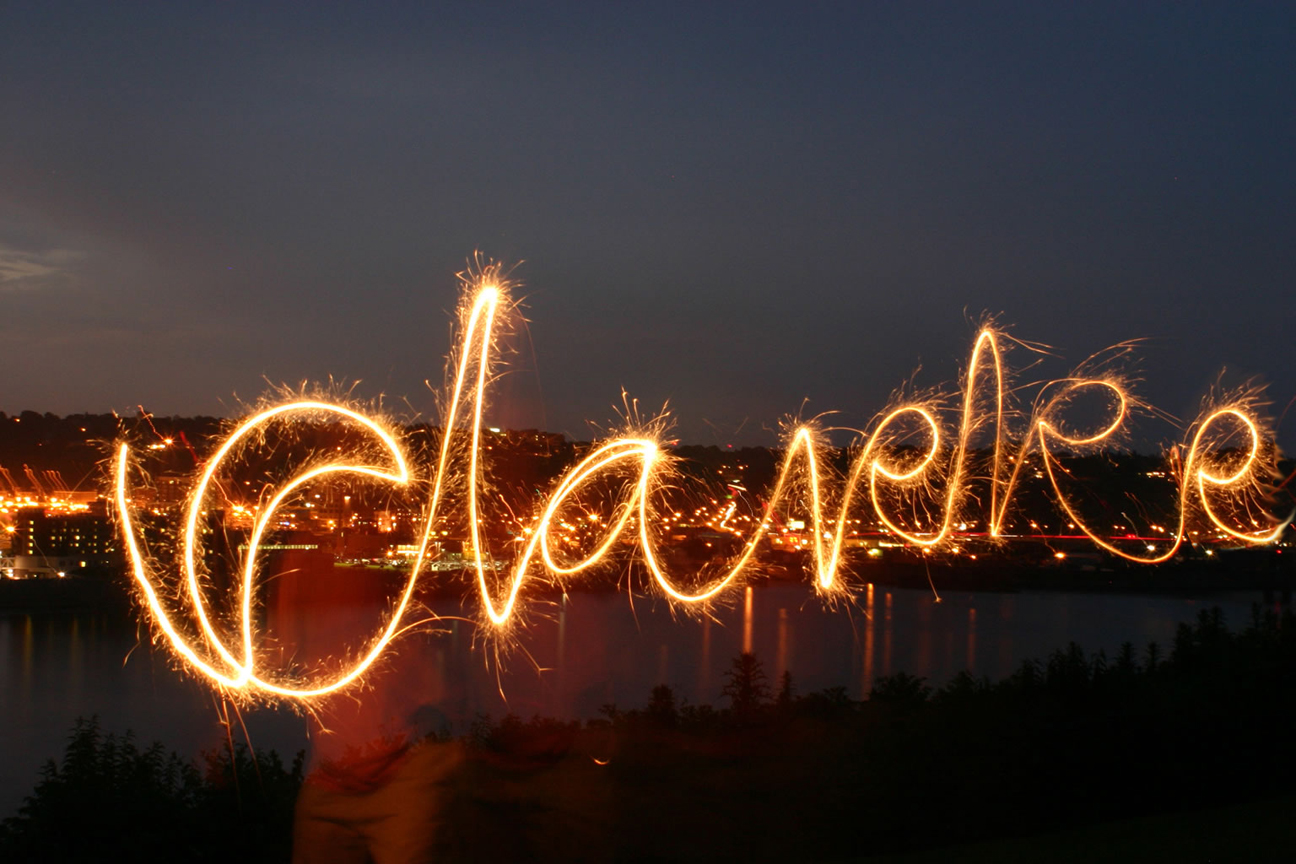
Night scenes can be difficult because of the time exposure necessary and optimal twilight time for the best possible shot. Katie Olson captured the perfect photograph at the perfect time. |
| Katie Olson |
 |
Quick call National Geographic! No doubt in our minds that Kristen could be a nature photographer. We can't say we've ever seen a photograph like this before. It's extraordinary and somewhat scary, don't you agree?. |
| Kristen Koester |
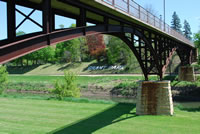
 |

Students tend to specialize as they discover their strengths in this class. Pam is strong in landscapes and architecturals that's for sure. This bridge in Galena, Illinois, is wonderfully depicted. |
| Pam Steffenmeier |
 |
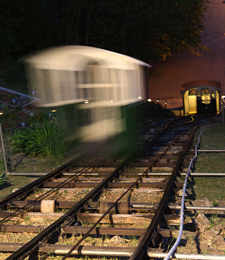
The world's shortest railroad, the Fourth Street Elevator in Dubuque, Iowa, descends to the street below just before dark. Shaun illustrated the movement of the car with a slow shutter speed and auxiliary flash, and it's fantastic! |
| Shaun Jones |
| |
 |
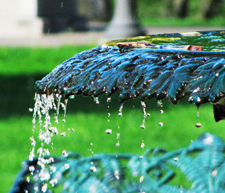
Tim freezes the action of the water cascading from this fountain, and it is extraordinary in this very well composed and technically excellent photo. |
| Tim Neyens |
 |

This strong composition illustrates the lesson that "less is more." It is evocative of those lazy, hazy days of summer when you just wants to take your shoes off and dangle your feet off a dock. |
| Veronica Burnett |
 |
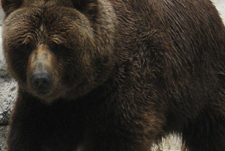
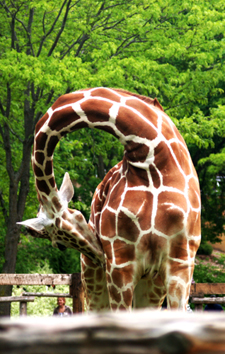
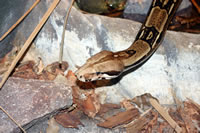
Imagine running into this magnificent and scary brute on the trail! The best place to get shots like this? Madison's Henry Vilas Zoo! Vickie's strong composition does not reveal the notion that this was taken at a zoo. Excellent! |
| Vickie Klinkhammer |
| Class of 2010 |
 |
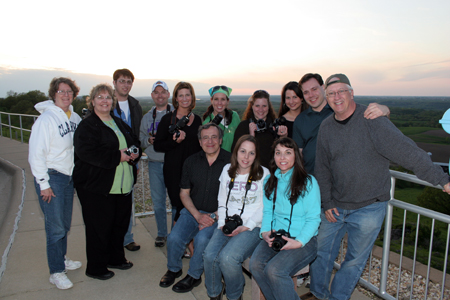
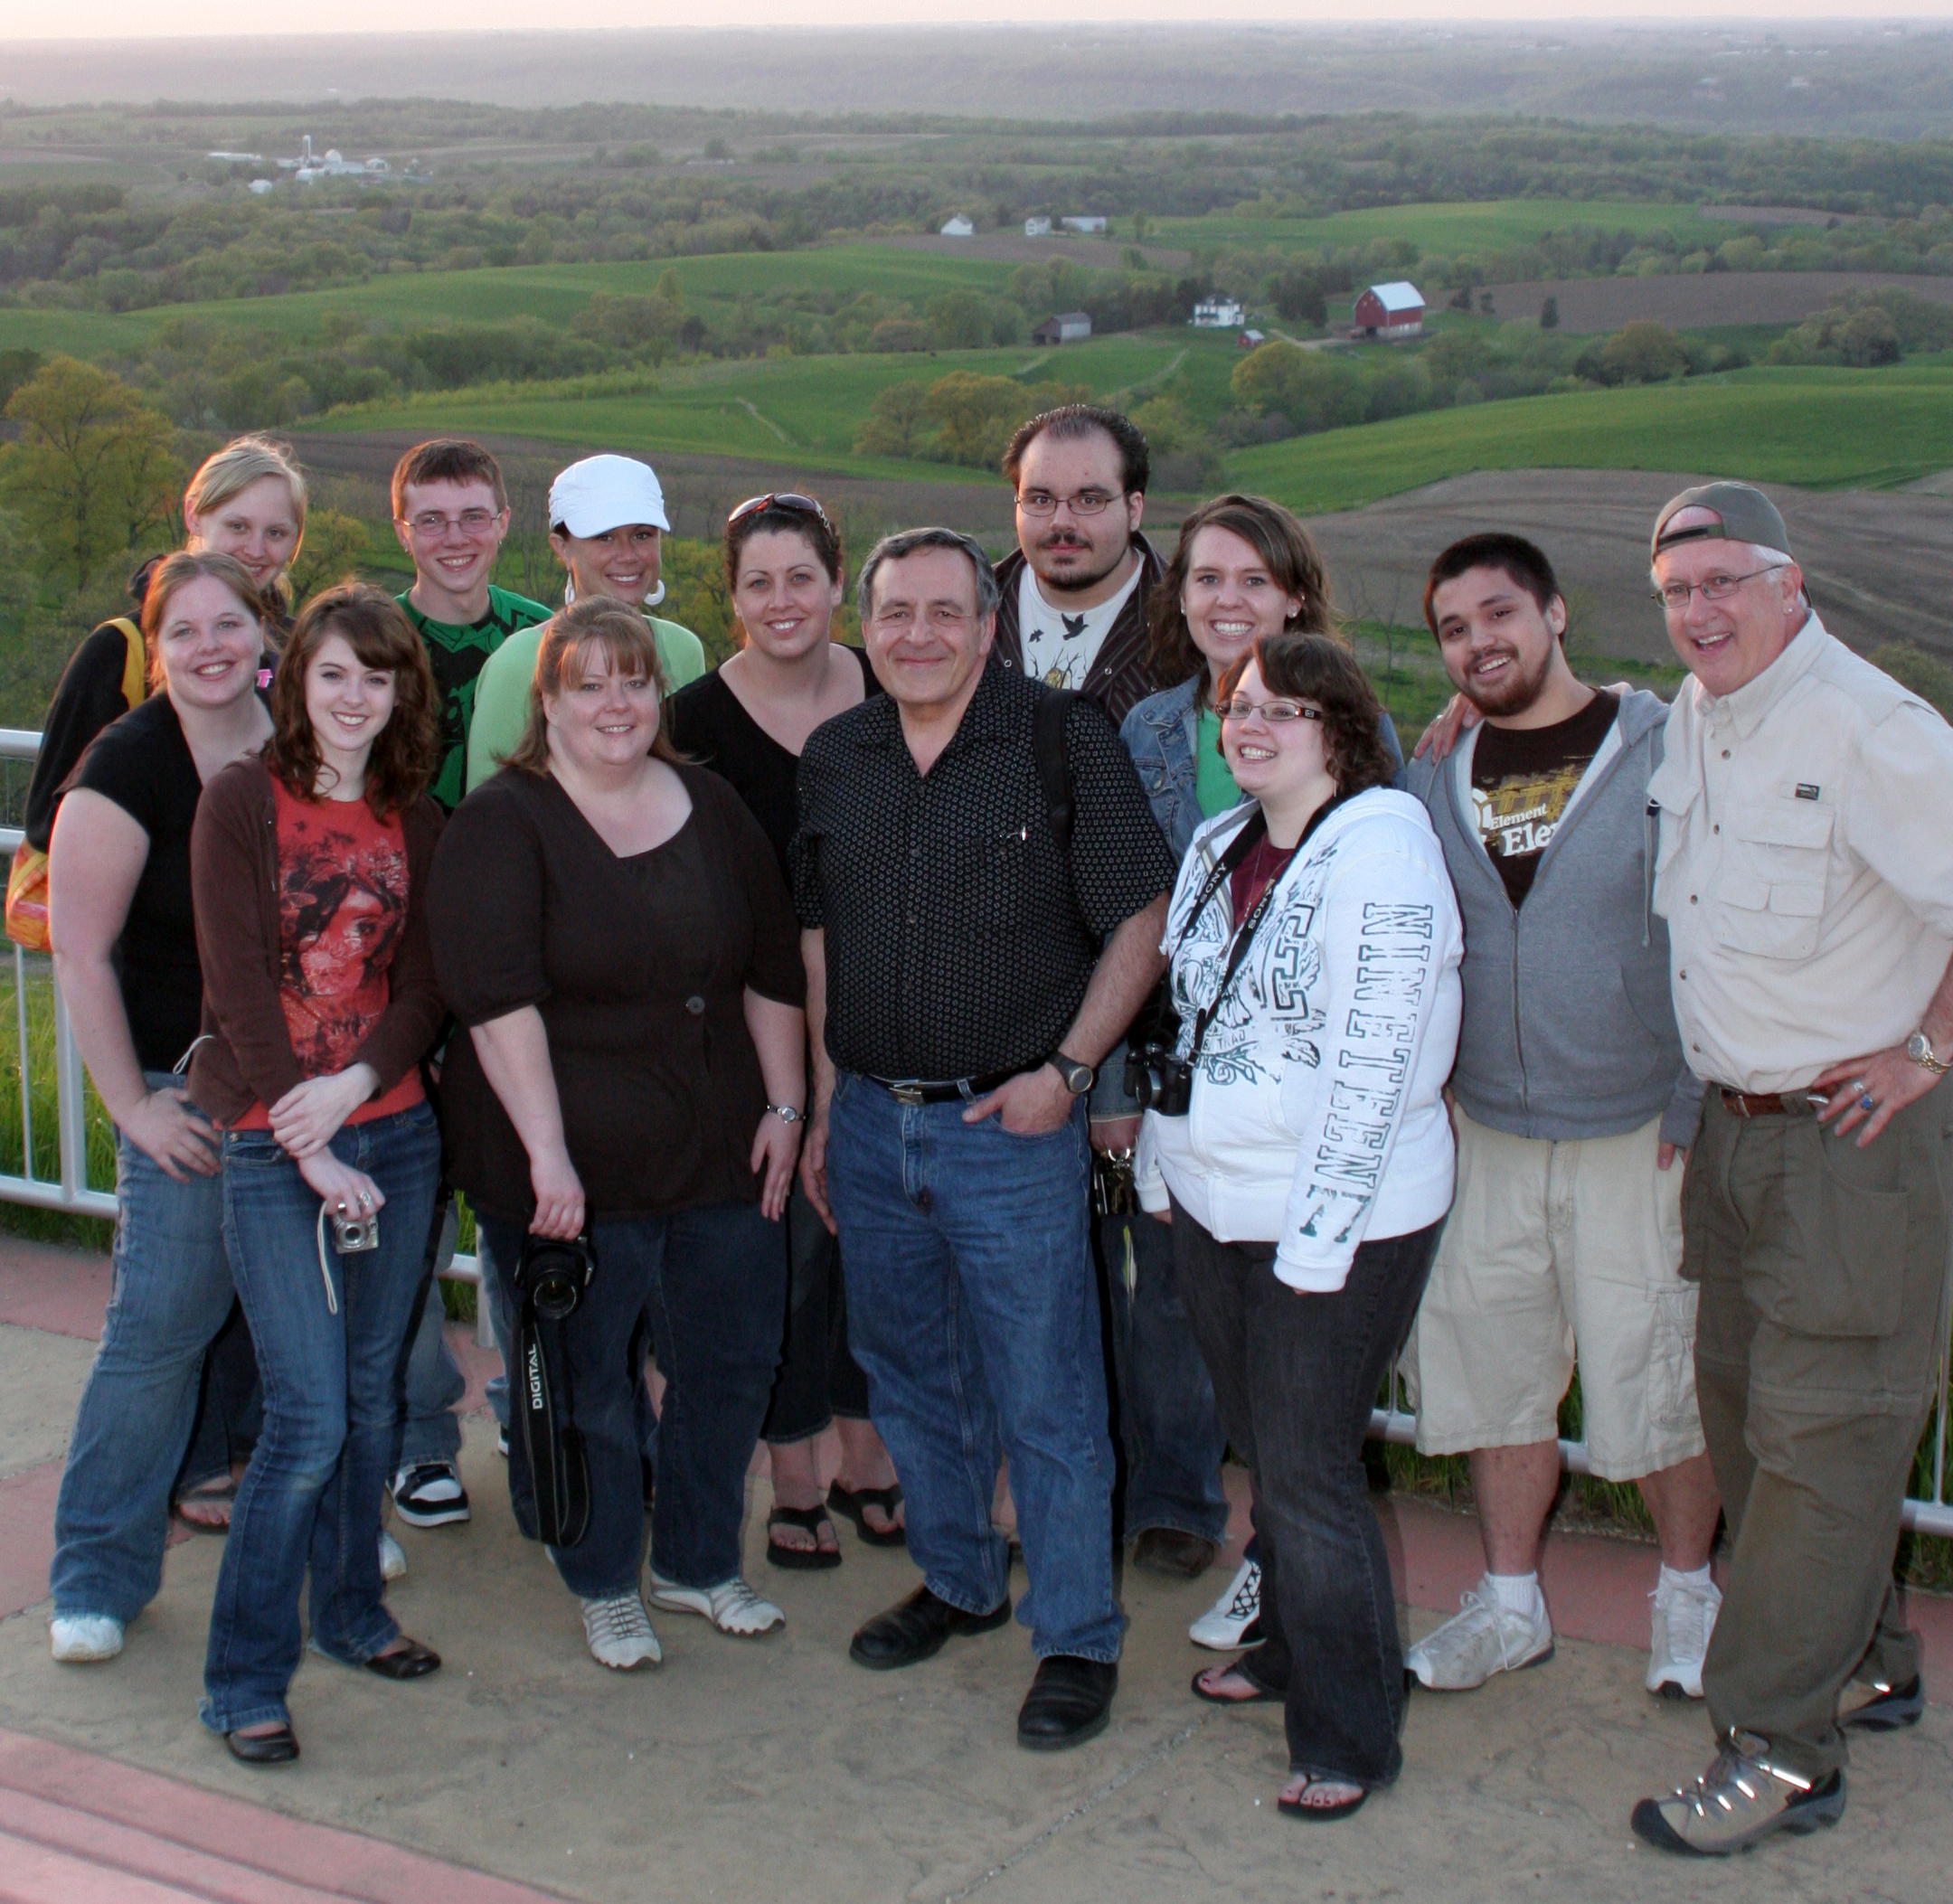
| As has been our tradition, we take our class to Balltown, IA, the state's highest promontory, and we take a group photo as the sun sets in the background. |
 |
 |
| Arleen Wentworth |
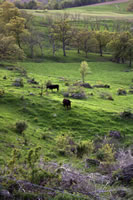
This photo was taken at the absolute best time of day in terms of light, shadows and contrast. Arleen's portfolio is strong in terms of talent and her ability to compose strong images. |
 |
 |
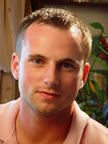
| Phillip Flores |
This is a fantastic image on many levels, especially color and composition. The image was made even stronger and more illustrative thanks to his skills with PhotoShop. Photographed in Galena, Illinois, a favorite destination for our photography class. |
 |
 |
| Sara Prier |
A fabulous study in color and textures. Sara's portfolio is a chronicle of natural wonders that passed before her lens. |
 |
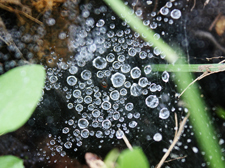 |
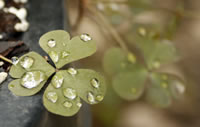
| Elaine Miller |
Extraordinary shot of dew in the garden, a spectacular image that is like no other shot during the course. Congratulations Elaine! |
 |
 |
| Heather Jansen |
Madison's zoo is wonderful for a small municipal zoo. Glass instead of bars affords this opportunity capitalized upon by Heather. She raised the camera 45 degrees from parallel to the glass and actually used the flash, and voila! The glass is a non-factor. And look at the highlights in the tiger's eyes. It's magical. |
 |
 |
| Justin Haas |
As I evaluated Justin's portfolio of images, this one emerged as my favorite. It's not only technically excellent, but the composition is powerful and evocative of the great paintings of Georgia O'Keefe. But you must see the rest of this artist's images. Incredible. |
 |
 |
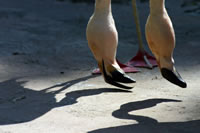
| Lisa Gibbs |
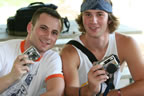
This was a fun exercise on the shores of Lake Mendota in Madison, WI. To freeze these jumpers perfectly silhouetted against the sky was a challenge that was best captured by Lisa Gibbs. An amazing shot. |
 |
 |
| Wendy Wilwert |
Timing is everything in photography, whether you are waiting for the right light, the right facial expression, and with animals, well it's timing combined with luck, and skill to anticipate opportunities like this one. |
| Class of 2009 |
 |
| As has been our tradition, we take our class to Balltown, IA, the state's highest promontory, and we take a group photo as the sun sets in the background. |
 |
 |
| Abigail Hurm |
This could and should be a collectable postcard. What a great composition. |
 |
 |
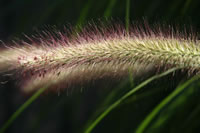
| Sarah Biederman |
It's like these flowers are about to burst into little pixies and fly away the Neverland. Excellent composition. |
 |
 |
| Ben Jacobson |
One of the best tall landscape compositions we've seen in a while. The angle of the light and time of day convey's the onset of evening. |
 |
 |
| Holly Cress |
A simple subject, but the light, the angle and the colors combine to form an arresting image. |
 |
 |
| James Doepke |
The albino alligator at the River Museum. It's and incredible mutation, and Jim captured it beautifully as a study in capturing texture.. |
 |
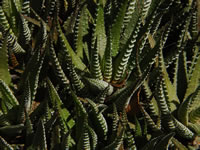 |
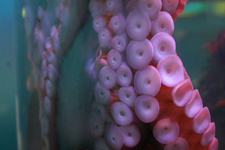
| Jane Jackson |
A spectacular study in texture. It's a cactus plant, but it looks like the tentacles of a sea monster undulating in the ocean depths. |
 |
 |
| Kim Burnett |
A perfectly lovely photograph. It conveys so much about the time of day in which it was shot. It's colors evoke a 19th Century pastel drawing. |
 |
 |
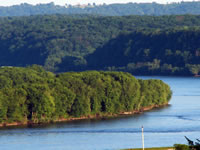
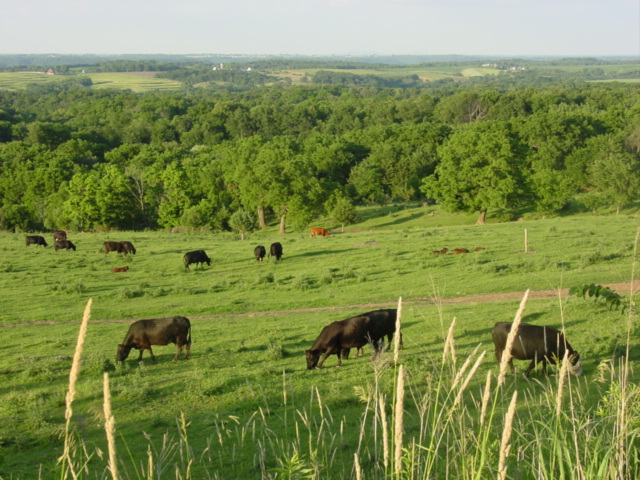
| Nicole Neuhaus |
This photo reminds me of a great painting. The rolling landscape of the Mississippi River Valley viewed from the Great River Road. |
 |
 |
| Sandi Kass |
A stunning composition in color. |
 |
 |
| Sara Selchert |
A lovely composition of a famous Galena, Illinois landmark. The sun is striking the building from high and sun is not shining directly on the face of the building making the exposure even more interesting. |
 |
 |
| Bonus: Gary's class demonstration shots are available to download plus some surprises. |
Class of 2008 |
 |
| This is the Class of 2008 photographed at our favorite location and Iowa's highest point Balltown. Every year we take in this magnificent site from Balltown's scenic lookout. The sunset was the perfect end to a perfect day. Want to know what the students learned? Click here for a quiz. |
|
 |
Sarah Neece |
This was an exercise in textures and abstracts. We love it! It looks like candy but it's sponges. |
|
 |
Heidi Rhinehart |
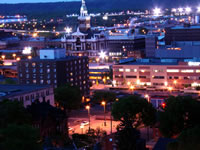
One of the best evening shots (an expertly done time exposure) of our city. |
|
 |
Jamie Ryan |
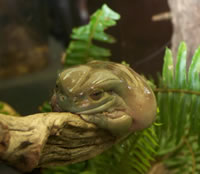
We went to the Mississippi River Museum and Aquarium, and Jamie took this photo of this exotic frog. It's extraordinary. |
|
|
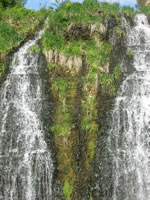
Justin Curry |
Does this not look like some waterfall in Africa or South America? Well, it's in Galena, Illinois, and a favorite photo destination for our class. |
|
|
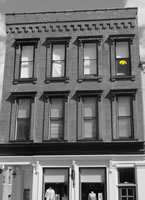
Justine Ehlers |
I love that students in this class embraced the esthetic of black and white photography. This is an evocative shot of a turn-of-the-century facade. |
|
 |
Kelli Steinbron |
We're not sure if this is a wild-life shot or a study in contrasts or textures. In any case, a strong image by Kelli. |
|
|
Kelly Prier |
You don't need color to produce a strong statement. Kelly is an afficianado of the black and white composition, and this shot has a great illustrative effect. |
|
 |
Kerrie Robinson |
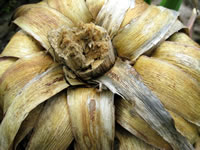
The texture of this dried plant is captured perfectly in this composition. You can feel the dryness of the object. |
|
|
Kristy Malone |
This photographer has a future as a journalist or a fashion photographer. Click on this collection and see the enlargement of this image to see the expression on the face of this runaway bride. The shot was captured on the Rivewalk where a lot of wedding parties go for photos and contemplation. |
|
 |
Spencer Tylin |
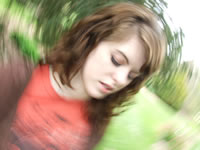
This guy is very talented, and the collection substantiates this assessment. We do this twisty time exposure as a lesson, but this image turned out to be one of the best we've seen in years doing this class. |
Class of 2007 |
|
| This is the Class of 2007 photographed at our favorite promontory overlooking the Mississippi River Valley at Balltown, IA. (click to enlarge) |
Bri Burlage
|

This is among the best landscape shots ever. |

Andrea Dunlap
|
It's time to examine a truly wonderful portfolio. |

Gina Feestra
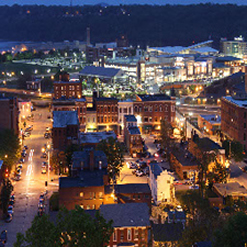
|
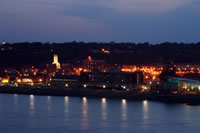
Dubuque at twilight... a spectacular cityscape! |

Stephanie Klein
|
Wonderful color renderings distinguish this students' work. |
Chris Kleitsch
|

Strong imagery and masterful composition are hallmarks of this portfolio. |

Elizabeth Korzelik
|

One of the most creative visionaries in this year's class. |
Rose Noble
|

An extraordinary talent with one of the most spectacular portfolios. |
Kristie Riesselman
|

Creative, innovative and one you shouldn't miss. |

Olli Sinno
|
Visually arresting images from this returning photographer. |
Rachel Ward
|

This is one of the instructor's favorite images from the entire class. |
Gary Olsen's Album |

Shots collected during the class |
Class of 2006 Session 3 |
|
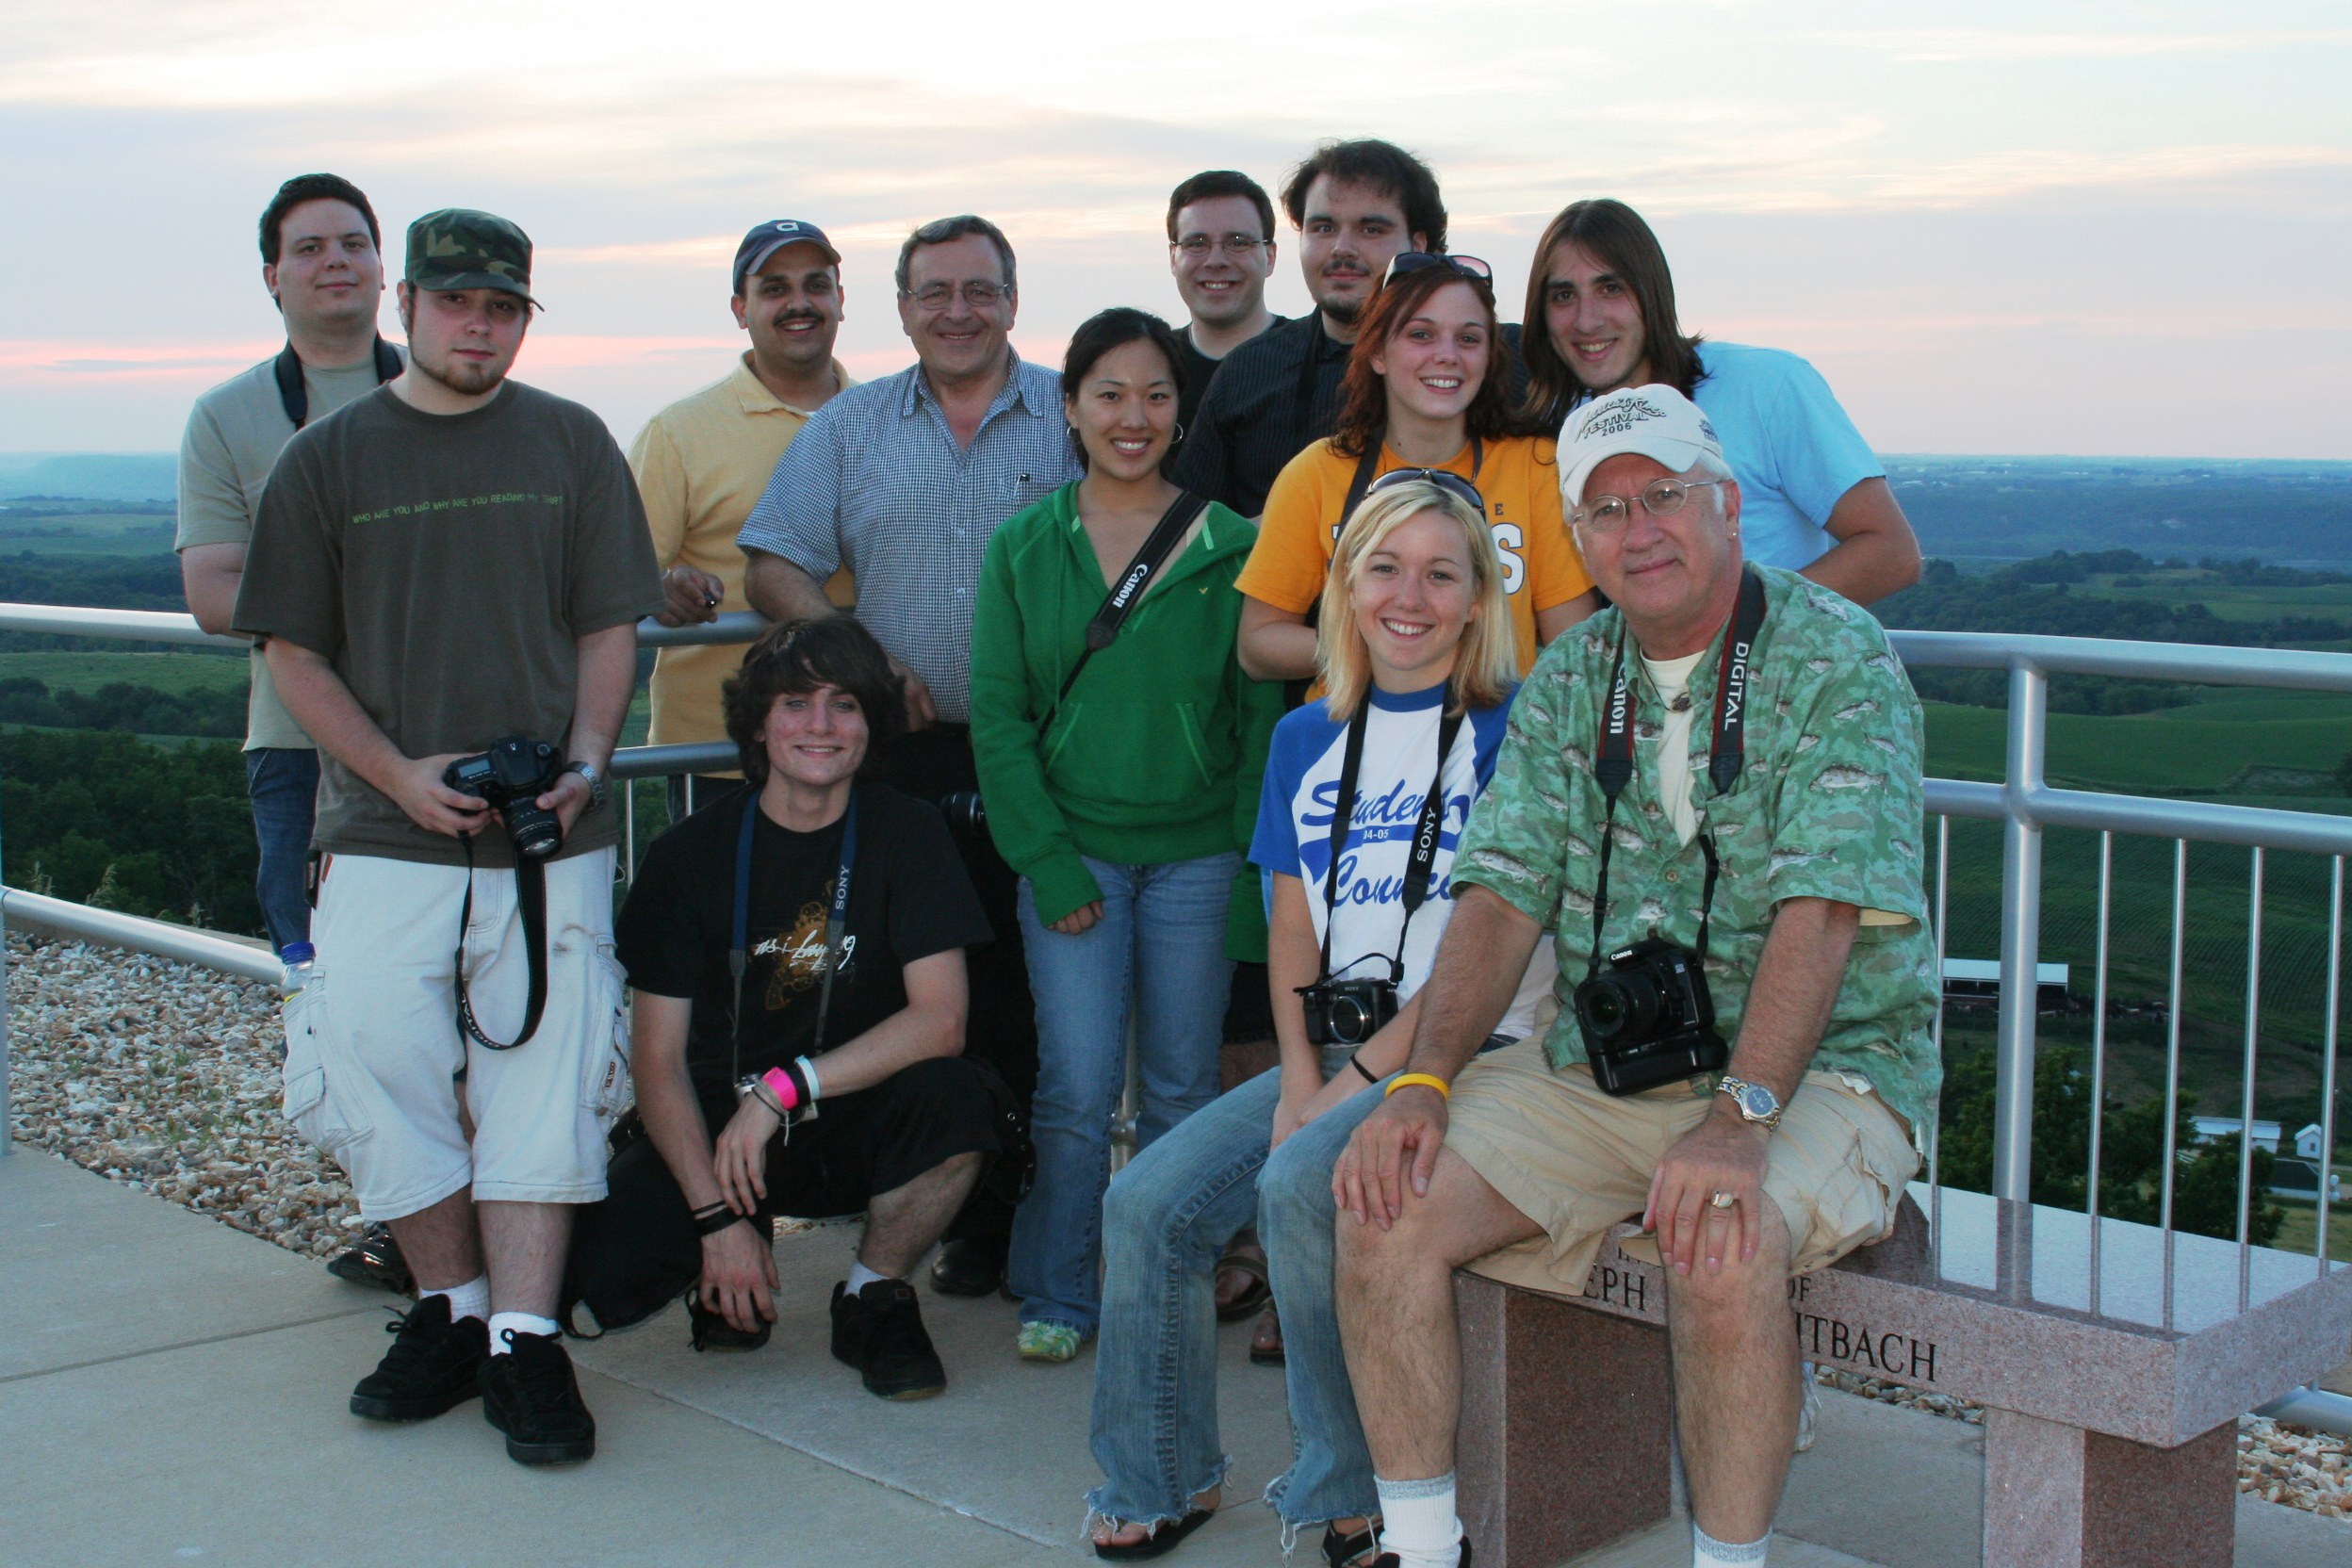
| This was our third and final class for 2006, and here we pose a group shot at one of our favorite stops, Balltown, Iowa, one of the most picturesque locales in this region. |
Andrea Ternes
|

Incredible picture of this South American jungle amphibian. What is remarkable is that this frog is seldom visible in his chamber at the Henry Vilas Zoo in Madison, Wisconsin. But then along came sharp-eyed Andrea Ternes, and she got the shot. |
Tony Zeimet
|

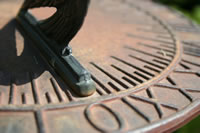
The abstract of the natural world. A close up of a leaf is expertly captured.
|

Julie Yarolem
|
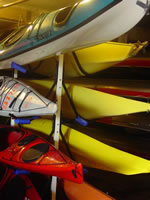
This is one of our favorite images of kayaks at a Madison boathouse.
|
Gina Feenstra
|

Incredible depth of field makes this image pop. It almost looks 3D.
|

Maggie Currie
|

The composition of this scene is an excellent example of Maggie's gift for imagery. |
Becky Specht
|

The girl walking her bicycle could have been photographed in Greece or Italy, but it was the Student Union at the University of Wisconsin. |

Michael Dalsing
|
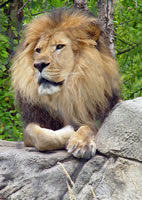
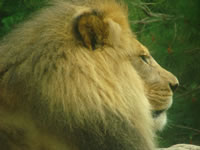
This lion has been photographed many times, and he almost never looks this regal, but then Mike raised his camera, and the lion posed perfectly. Timing is everything.
|

Heather Henson
|

The extremes of light and dark in this composition are what capture the mood perfectly as the sun sets and we contemplate another wonderful day in paradise. |
Class of 2006 Session 2 |
|
| Meet the class of 2006 (Session 2). We combined intermediate students with entry level, and we added some visual communication assignments to the syllabus. It was great being with old friends and meeting new talent. Here we are again at Balltown, Iowa overlooking the magnificent and picturesque upper Mississippi River Valley. |

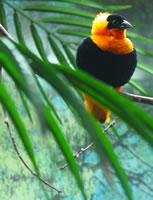
Nate Lech |
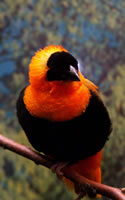
This bird was photographed at a Madison zoo, but the composition and shallow depth of field make it look like Nate just took this photo in the Amazon.
|
Paul Kurutsides |
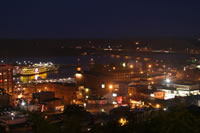
The night time cityscape is a difficult image to capture fully because you almost don't see it until you've taken it. Depth of field is critical here, and Paul did a great job technically and artistically. |

Kristina Nesteby |

What an arresting image! Kristina has a gift for composition and maximizing contrast through her camera's settings. It's a wonderful image.
|

Ali Herbst |
Some people would try to position themselves to capture the lion straight on, but not Ali. This profile is such a strong image. Ali is great at assessing the opportunity and capturing it with her camera. |
Olli Sinno |

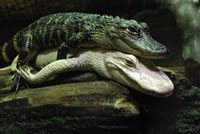
If you didn't know there was glass between the alligators and the child, you would think that some parent was endangering their youngster. Such is not the case, of course, but Olli saw an opportunity and seized upon it. |
Erin Highland |

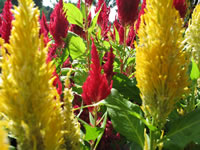
The key to success in flower photography? Contrast and dark backgrounds that make the flower pop off the page. Erin is an expert in this form of composition. She's an artist. |

Matt Adams |
The bird and leaf is an excellent composition, especially with the bird in the upper right quadrant of the frame. It looks so exotic. What's the bird looking at? Perhaps breakfast.
|

Jim Matheos
|
Jim is completely comfortable walking up to complete strangers, introducing himself and getting the photo. In fact, this subject posed a little, and that's what provides the charm of this image. Jim is a born photojournalist.
|
Omar Sinno |
What a wonderful composition of flowers. Shallow depth of field was a risk worth taking. Omar is a brilliant technician as well as an artist with a camera. |
Class of 2006 Session 1 |
|
| This is the class of 2006, Session 1. This photo was shot on the highest point in the state, Balltown, Iowa, overlooking the magnificent Mississippi River Valley. It's sunset behind us. |

Jill Mueller |
This is one of our favorite landscapes of the Mississippi River. The colors, time of day, the light filtered through the earth's atmosphere late in the afternoon combine with Jill's talent to create this marvelous image. |

Mishereen Ellis |

Mishereen succeeded in finding the best composition and dark background to create this arresting image. It's a perfect exposure and composition. |

Andrea VanWyk |
The way this was photographed was brilliant. The camera is shooting the dark side of the flower with the sunlight shining through the petals as if through stained glass. |

Cathy Blok |

Cathy is a relentless photographer in pursuit of the perfect composition, constantly looking for the most creative angle. She succeeded big time on this shot through terrarium glass (which can be difficult), and she used flash!
Incidentally, Cathy was picked to accompany Gary Olsen on an exclusive wedding shoot that occurred during this class and here is the link to an extraordinary portfolio of her shots! |

Lindsey Brown |
This shot is poetry in a picture. Lindsey Brown is a strategist when it comes to composition and contrast. This is what it's all about, right here and right now. Great timing, great exposure and great art.
|

Sarah VanWyk |
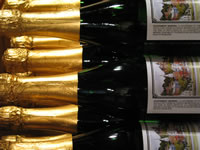
How to find the abstract in the ordinary is the specialty of Sarah VanWyk, and she saw just what she was looking for in this row of wine bottles. |

Jennifer Johnson |
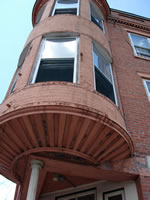
Jennifer is a phenomenal photographer when it comes to structure and architecturals. This turret on a victorian era brewery in Dubuque, Iowa, is a superb illustration of detail. The wide angle lens brings drama and image impact.
|

Diane Siese
|
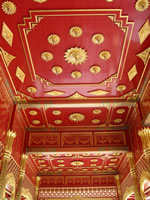
The Thai pagoda in Madison, Wisconsin's Oberich Park is spectacular, and it begs to be photographed from all angles. But the interior is most interesting to Diane, and she captures the majesty of the ceiling and all its gold gilded trim and decorations.
|
Class of 2005 Session 2 |
|
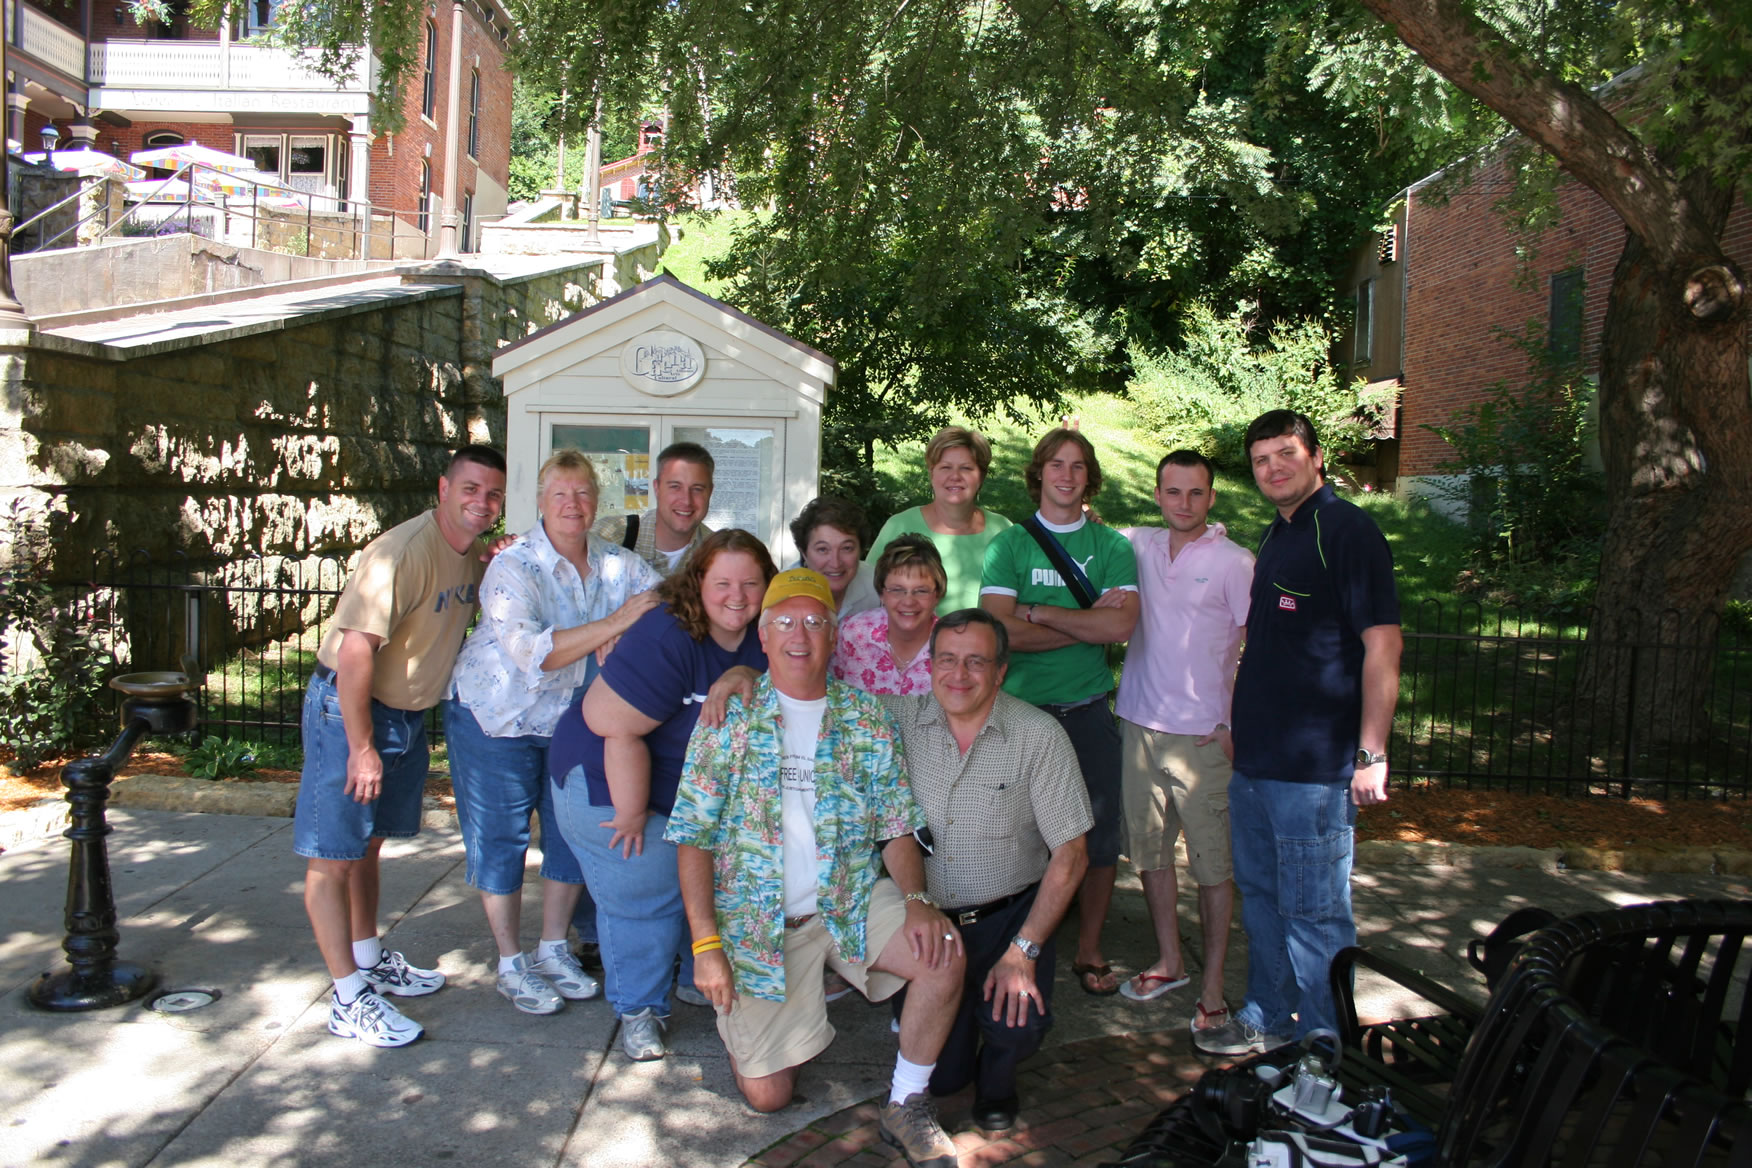
| This is the class of 2005 - Session 2. It's our traditional group shot in Galena, Illinois. During our Galena shooting session students are given a photo-journalism assignment to capture the essences of the Galena experience. Several excellent shots are featured in their portfolios below. There are also excellent shots from our Dubuque Riverfront, two arboretums (one in Dubuque and one in Madison, Wisconsin, and the famous Henry Vilas Zoo in Madison among other places in our Tri-State Area. |
Photographer |
Click for Individual Portfolios |
| 
Alex Galitsky |
 |
| 
Amy Poland |
 |
| 
Marsha Kremer |
 |
| 
Ann Miesen |
|
| 
John Brosius |
 |
| 
Bill Welsh |
 |
| 
Richie Miehe |
 |
| 
Lynn Becker |
 |

Shirley Armstrong
|
 |
Instructor Gary Olsen's Portfolio, August 2005 (above photo by Shirley Armstrong) |
Occasionally, the instructors take photos right along with the students They can be useful for inclusion in student portfolios later or as just fun remembrances of a wonderful weekend. Click here for all of Gary's photos.
|
| |
|
|
Class of 2005 Session 1
|
|
|
| This
is our class from the first session photographed on Main Street
in Galena, Illinois, one of our favorite photographic venues
as we travel throughout the Tri-State Area taking pictures
for our portfolios. Below, enjoy watching a fifteen minute
documentary movie we've prepared that captures the spirit
and learning activities of this four-day workshop. Meet the
instructors, Dr. Abdul Sinno and Gary Olsen, and the students
of the Clarke College Digital Photography course. |
Movie Documentary on Our Class of 2005 |
|
|
|
|
| RealPlayer file or telephone modems. This is a small file that doesn't stream but plays well when fully downloaded. |
RealPlayer file for DSL and cable modems, this is a medium sized streaming file that works very well on high speed networks. |
RealPlayer file. This is a large, high quality streaming media file that works well for DSL, cable modems and high speed networks. |
This is a Windows Media Player file that works extremely well in Windows Internet Explorer browsers equipped with built-in Windows Media Player. |
|
Jennifer Heimann
|
 |
Jenna Ferris
|
 |
Gwen Hayes
|
 |

Alan Jones
|
 |

Paul Kurutsides
|
 |

Jim Matheos
|
 |

Linda Olsen
|
 |
Ollie Sinno
|
 |

Emily Wilgenbusch
|
|
|


